


How to set up WireGuard VPN on Vultr in 5 minutes or less
Utilizing the latest technology

Let’s say you want to set up a VPN with the latest technology but search for it online and get 20 different blogs, with different versions of Linux software and commands. This guide will help me (you) set up the VPN quickly and go from a public IP address to your own private VPN with a dedicated IP address in minutes. Wireguard is a newer and faster technology that works better than traditional IPSEC VPNs. These instructions are updated as of January 2024.
Let’s get started!
Login to Vultr or sign up for a new account if you don’t have one. Here’s a referral code for a $100 credit (I get $35): https://www.vultr.com/?ref=9586446-8H
Click Products > Compute > Deploy Server


Select the Cloud Compute option.

Scroll down and select the Regular Performance option.

Select your desired server location. I chose the default (Los Angeles).

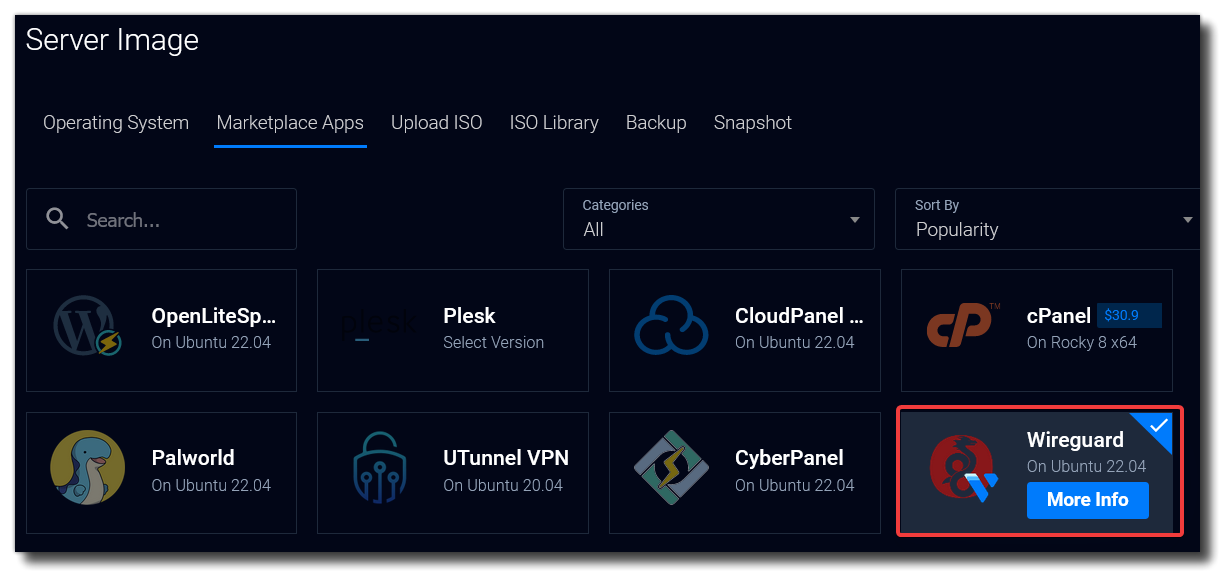
Select Marketplace Apps > Wireguard. It will use Ubuntu 22.04.
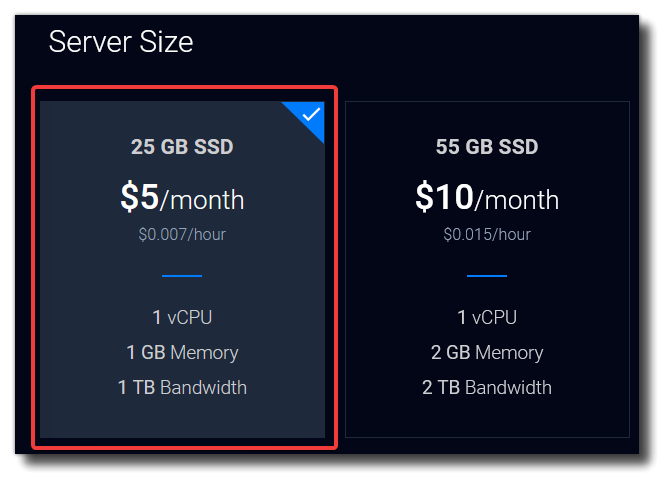
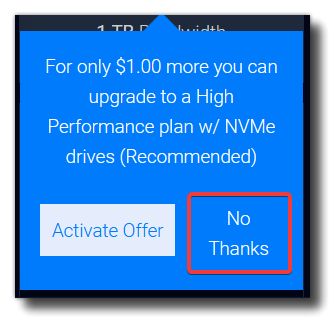
Select $5/month server size (25GB SSD) and “No thanks” on the upgrade. Note that you are only charged per hour, so you can always remove the server later and will only be charged for the time it was running.
Disable Auto Backups (unless you really want them)
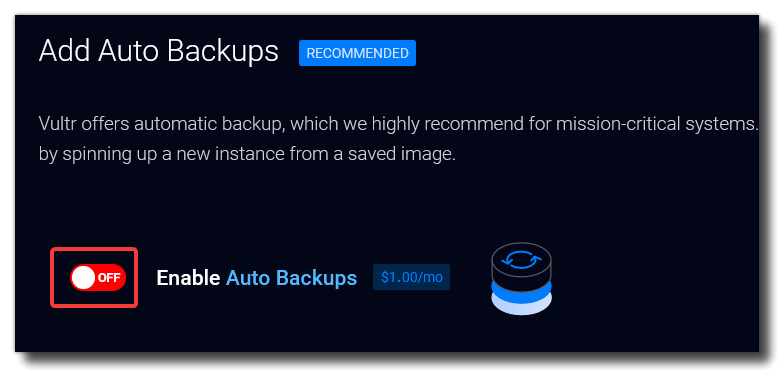

There is no need to enable any of the additional features.


There is no need to enter any additional details or name the server, click Deploy Now.

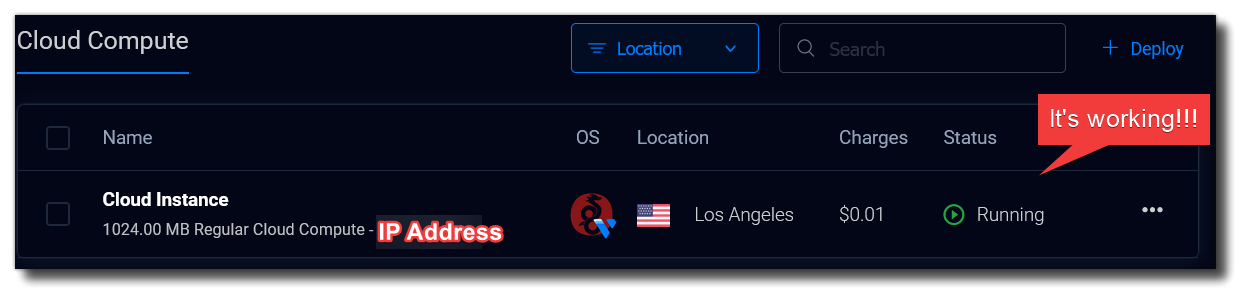
Watch your server being built! It should only take a minute or so until you get “Status = Running” and your IP address listed. The OS column will show the “market app” you’ve selected.
Click on your cloud instance. You may see a note that the server is still installing. You can either refresh the page or view the console to see how it is progressing.


Download and install the Wireguard client from https://www.wireguard.com/install/
Under App Instructions click Download Configuration File and enter the username/password to download the file.

Import the config file to Wireguard


We need to change DNS as there is no DNS server set up on the VPN. Right click on the wg0 tunnel, and select Edit selected tunnel

Change the DNS setting to Cloudflare (1.1.1.1) or your preferred public server and click Save.

You’re all set! Click “Activate” to connect to the VPN. You should see traffic being sent and received. Note: If you see traffic being sent but not received, there is a problem with the VPN/server/firewall. The way Wireguard works it will still show “Active”.

All traffic will now go through the VPN endpoint until you click “Deactivate”. You can check your public IP address and reverse DNS name at https://www.ipchicken.com
BONUS: Vultr lets you change your reverse DNS name to anything else, which will show up in server access logs.
NOTE: Your IP address will not change, and can still be traced back to Vultr, who may release your information if required by law. Do not use the VPN for any illegal activities.
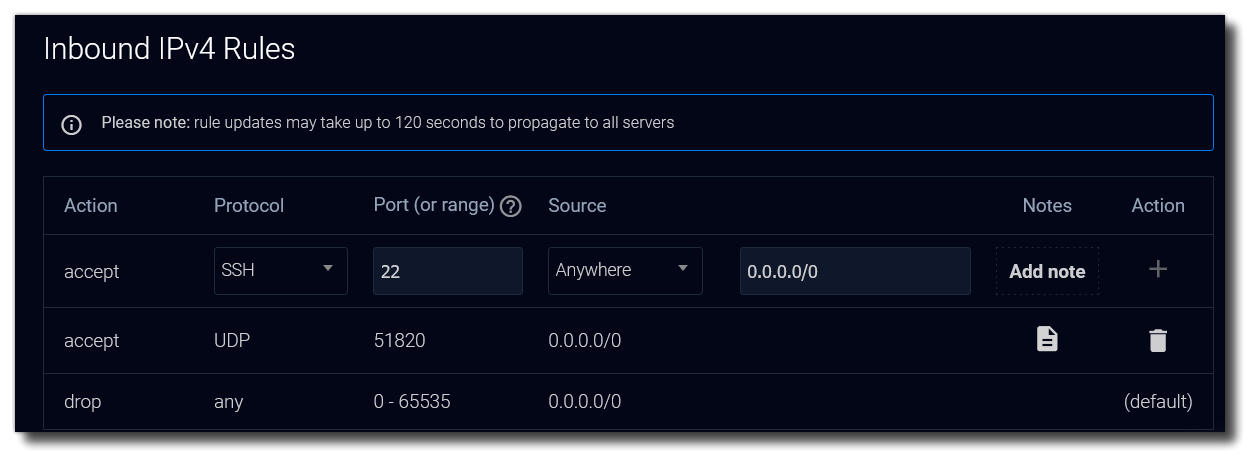
You can protect the server more by selecting Firewall > Border Firewall, then change the rules to accept only UDP, port 51820, from your IP address. This will block any other traffic including HTTP (80) and SSH (22) that are open by default. If you have a dynamic IP or are connecting from different locations, I’d suggest changing the source to Anywhere.
HINT: Press the action plus (+) button to add the firewall rule, which will default block everything else. It may take 120+ seconds to propagate.

When you are done using the VPN, you can either destroy the server or it will continue to bill hourly for up to a total of $5.00/month.
I hope this helps you set up a private VPN endpoint at Vultr to protect your privacy and any other reason you may need a different IP address. Please let me know if you have any questions or comments!